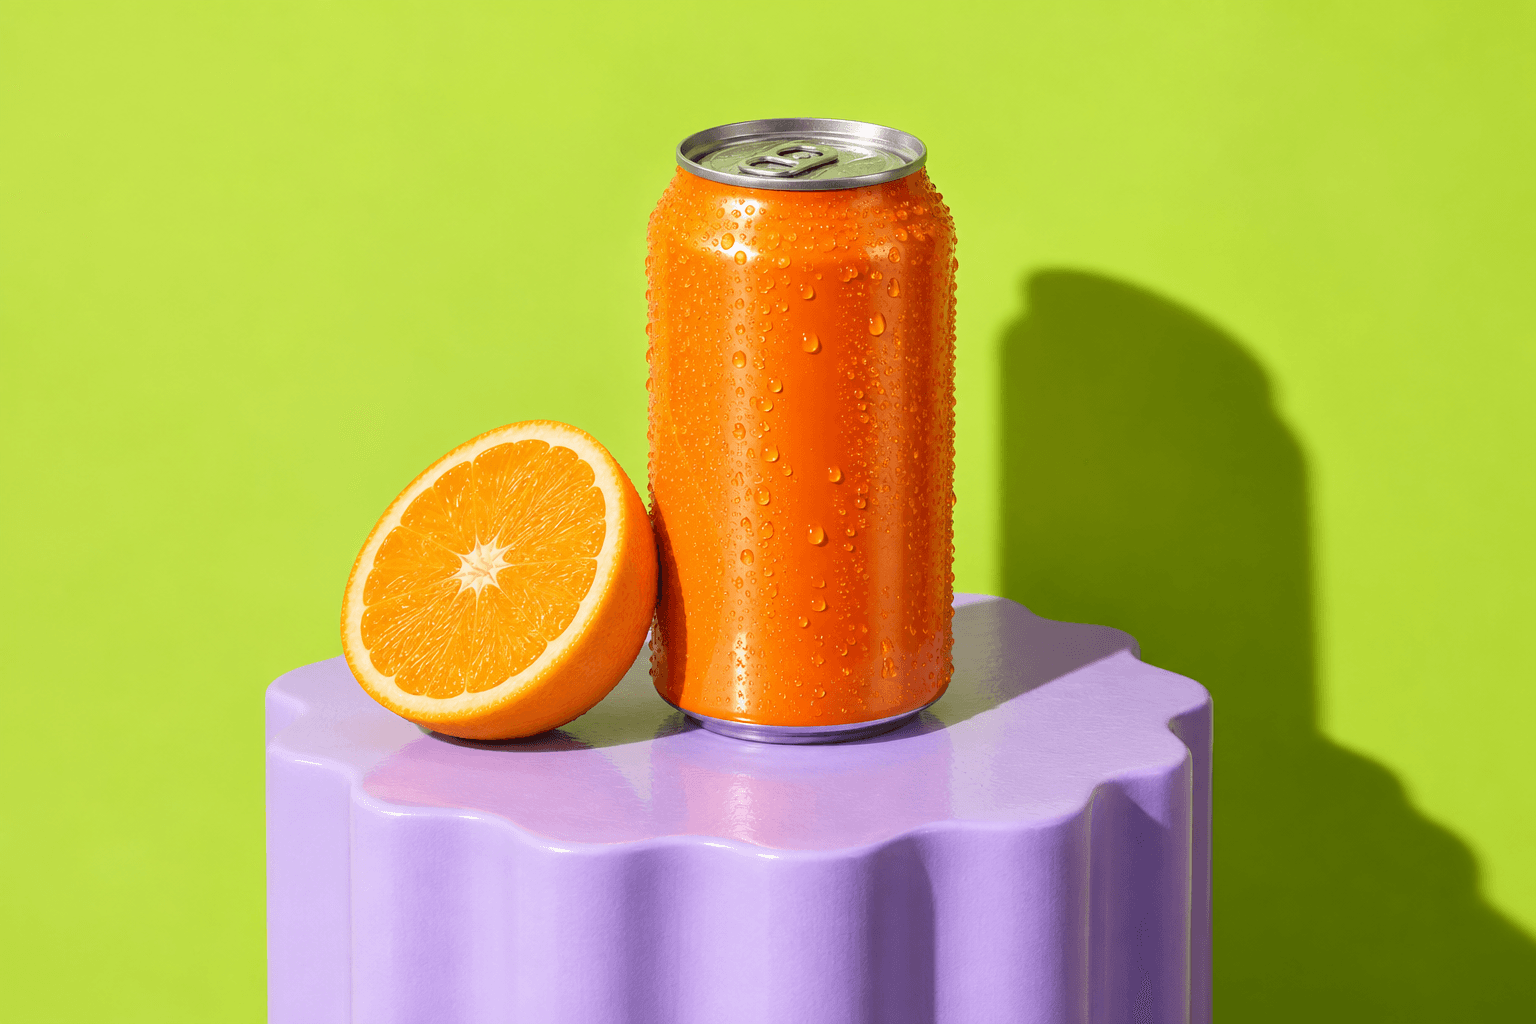
PICTURE THE IDEA.
MAKE IT YOURS.
Create images from a prompt or a visual reference, then bring them into your editing and campaign workflow.
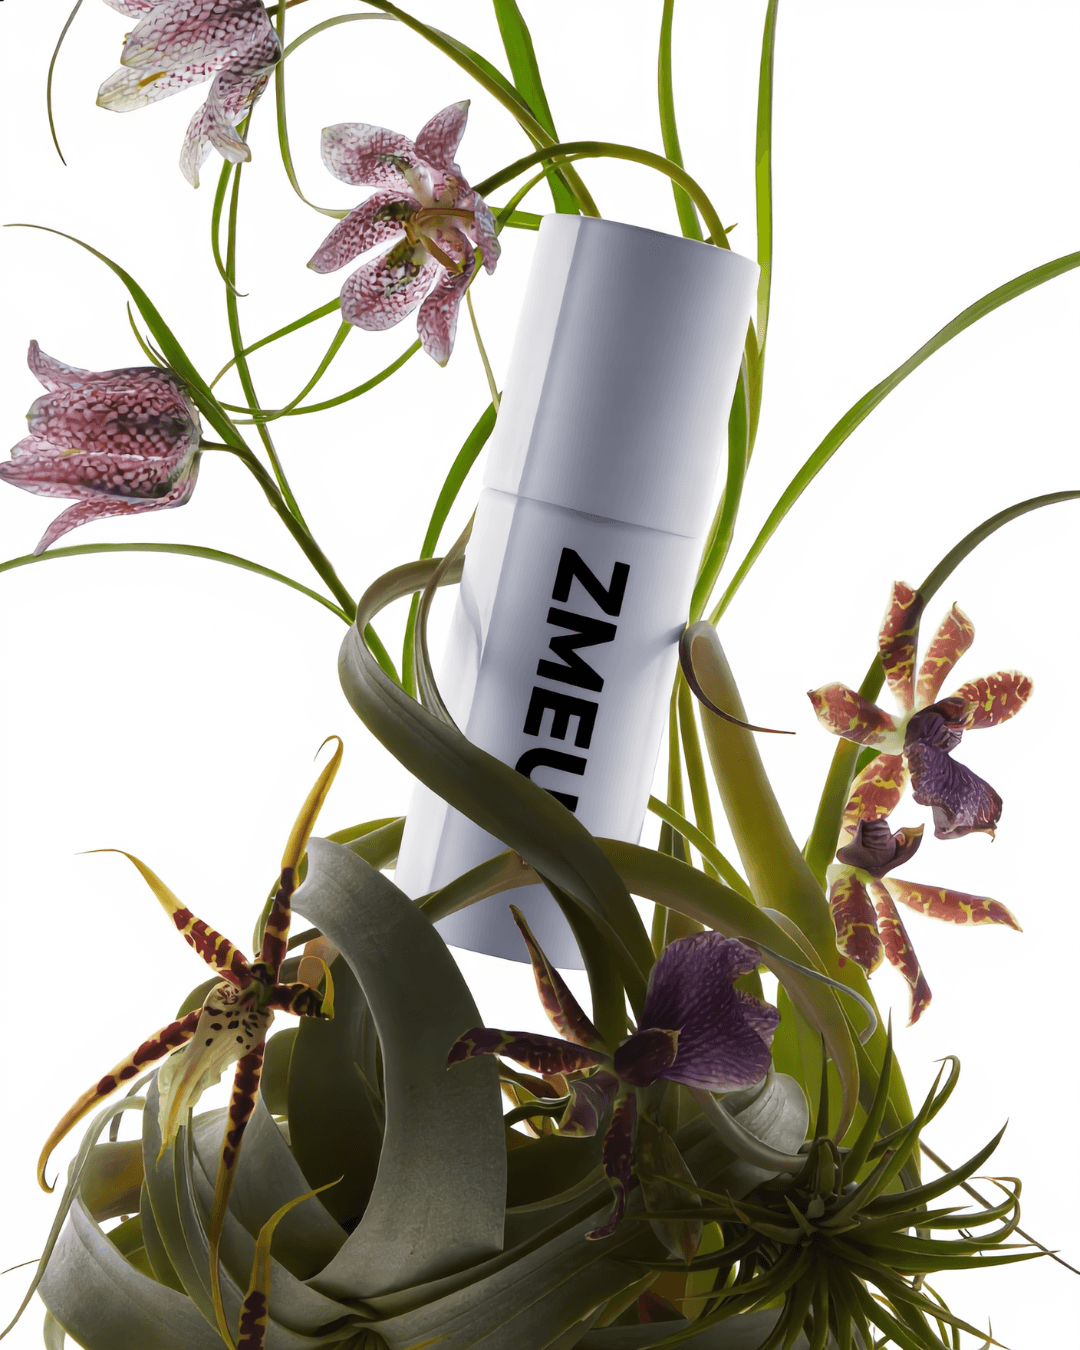
Give your product a new setting.
Describe the subject, setting, light, mood, and composition you want. A useful prompt could be a studio pack shot, a cinematic lifestyle scene, or a bold social campaign poster. Say where the image will be used so you can choose a suitable aspect ratio. Generate a draft, review its product details and visual hierarchy, then refine the strongest direction.
Explore more than one look.
Upload a product photograph or style reference to give the brief a visual starting point. Explain the role of each image: this is the product to preserve; this is the lighting or composition to explore. Create a clean product spotlight, an editorial interpretation, and a lifestyle scene from the same campaign brief. References guide a result, but do not guarantee exact preservation.
Keep creating after generation.
Generation is the beginning of the workflow. Open the result in the photo editor to adjust the crop, arrange layers, add editable text, or explore a focused image change. For exact prices, dates, or campaign headlines, place the wording as editable text and check it before export. Keep approved variations with your campaign so the caption and destination remain clear.
Use the attached bottle as the product reference. Create a fresh summer campaign with lime green and warm sunlight. Keep the bottle central and leave clean space at the top for editable copy.
Describe the feeling. Refine the details.
Chat with the agent about the creative direction instead of treating a prompt as a one-shot instruction. Ask for a stronger focal point, another setting, or a cleaner space for copy. You can ask for critique before authorizing an edit. When a brand is selected, specify whether to use its palette and references or explore a direction outside the usual look.
translucent textures · soft product lighting
saturated colors · playful overhead scenes
Build a visual world for every brand.
A brand kit gives your recurring images a shared starting point: products, colors, audience, and art direction. Agencies can maintain a different context for each client, then brief distinct launches without recycling the same visual treatment. Compare concepts within that client's campaign, review the product accuracy, and take the approved images into editing and publishing.
FREQUENTLY ASKED QUESTIONS
Can I generate an image from text alone?
Yes. Describe the subject, composition, setting, lighting, and intended use. Start with a clear brief, then use follow-up requests to refine the result.
How do image references help?
References show the product or visual direction you have in mind. Explain what to preserve and what to borrow from each reference. Always check the generated product details and composition.
Can I use my brand colors and products?
Yes. Select the brand, add useful product references, and ask the agent to apply that brand's direction. You can also ask for an unbranded concept when you want to explore freely.
Can I generate exact on-image text?
Some models support text generation, but the result still needs checking. For copy that must be exact or easy to revise, add it as an editable text layer in the photo editor.
How do I choose a model?
Use the model options in the image workspace and consider the controls, resolution, and credit cost shown there. Try a draft with your own brief before committing to a full campaign.
What can I do after the image is generated?
Refine it in the photo editor, create another format, add copy, or prepare it as a campaign asset. You can also use an image as a starting point for supported image-to-video workflows.
MORE IDEAS.
PRACTICAL
GUIDES.
Read the blog
Write better image prompts with product and brand references

Edit uploaded and AI-generated photos before they go live